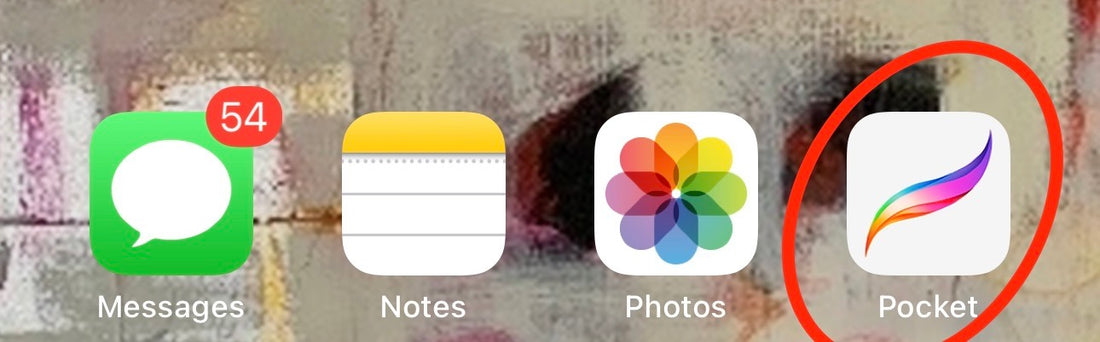
Procreate is an app that you can use on an IPad or an IPhone. The IPhone version is called pocket. It doesn't do all of the things that the IPad version does, but it does everything I need it to do! Having said that, Procreate is a magical tool with thousands of different capabilities. I probably use less than 5% and to me, it's worth every penny!
When I have a painting that is almost finished but I know there are a few things that need tweaking, I take a photo and upload it into Procreate. Click on the app. (On an IPhone it's called Pocket.)

Once you click on the Photo button to upload your photo, it will open the photos on your phone. Select the photo and it will appear in the library of Procreate.

Click on the photo that you want to make changes on and it will open a new screen showing the painting. The first thing I do is take my thumb and fore finger and pinch the photo a bit smaller. Then I click on the double squares and that opens Layers.

the screen then comes up. Layer 1 is your original photo. You can work on that layer but I don't recommend it. If you don't work on this layer, you always have the original photo to go back to. Click on new layer and layer two will appear. I like to think about layers like laying clear vellum on top of a painting and then painting on it. When you take it off or click the checkmark off, you can see the original. Click another layer and try a different color or a different mark. This will make sense more later.

Working on Layer 2, you are now ready to select a brush and a paint color.

Once you click on brushes, this screen comes up. Now what's crazy about this screen is the myriad of options. the choice of brushes is sketching, inking, drawing, calligraphy, painting, artistic, airbrushing, textures, abstract, charcoal, elements, spraypaints, touchup, vintage, luminance, industrial, organic, and water! This is part of the Painting screen. All of the brush choices have a screen like this to select from. Once you select a brush type and a paint color, you're ready to "paint"!

You can change the width of the brush by touching the top disk on the left.You can see that my brush is at 30%. By siding the disc up and down you can change the size from 100% to 1 percent to get the exact size that works for you.

To change the amount of pressure you put on the brush or the opacity of the paint, slide the bottom disc up and down. once again from 100% to 1%.

Just with these few steps, you can play for hours coming up with many different options. Keep adding layers and turning off layers until you have just what you want. Let me tell you how to save it to your photos. Click on the Modify screen and then click on the wrench.

then select Share Image. you have the option of saving it as a PSD, PDF, JPEG, PNG or TIFF. Then select Save Image or any of the other options listed there.

Check out my Instagram for a reel of me using a printout of the Procreate image to make changes to this painting on watercolor paper. Please leave a comment on IG if you tried any of this!
There are thousands of things you can do with Procreate. It is a paid app but the money is well spent!